Versioned documentation with Starlight & Vercel
Introduction
Let’s say in our project we’re working on a new major version. This may come with new features or even breaking changes. Users that did not upgrade yet reading documentation for the new version might get confused. This is why we want to serve a separate version of the documentation along with each major version of our project.
UPDATE (2024-06): The website in this example has been migrated from Vercel to Netlify. They offer “branch deploys” so knip.dev has v3.knip.dev and v4.knip.dev based on the same repository. Easy-peasy!
UPDATE (2025-03): The website in this example no longer needs versioned documentation. This might change in the future.
A Temporary Solution
Using Starlight and Vercel, this quick guide shows how I did it in my own
project: serve a separate version of the documentation at its own path. We’re
assuming the documentation is deployed from the main branch (still at v1) and
we’re working in the v2 branch to prepare the next major release. We’re going
to deploy this version branch and make it accessible at the /v2 path of a
domain we already own.
This solution requires a separate Vercel project for each major version.
Hopefully the Starlight team will deliver a built-in solution, but until then this approach might work for you if you need it.
The Plan
This guide assumes we have our site (example.org) running, and want to add the
next version at example.org/v2.
We start by setting up a new versioned project, make sure it works, and then integrate the main project with it. It’s a short story in three parts:
- Set
baseandoutDiroptions for Starlight in the versioned branch. - Create a new project in Vercel and deploy this versioned branch.
- Configure
rewritesfor Vercel in themainbranch.
Configure the versioned branch
Create or switch to the version branch, v2 in our example.
In your Astro configuration, set both the base and the outDir to match the
version in the current branch:
export default defineConfig({ site: 'https://example.org', base: '/v2', outDir: './dist/v2', trailingSlash: 'never',});This example has trailing slashes removed, which makes sense with Vercel’s
cleanUrls option we’ll set later on. The example site is using the default
static output.
Now is the time to verify a local astro dev serves the site at the /v2 path
properly and links are working fine. Push your version branch to your Git
remote. Make sure not to merge these changes to the main branch.
Create a new project in Vercel
Create a new project in the Vercel control panel and connect it with your Git repository. It makes sense to name the project after the version, something like “example-org-v2”.
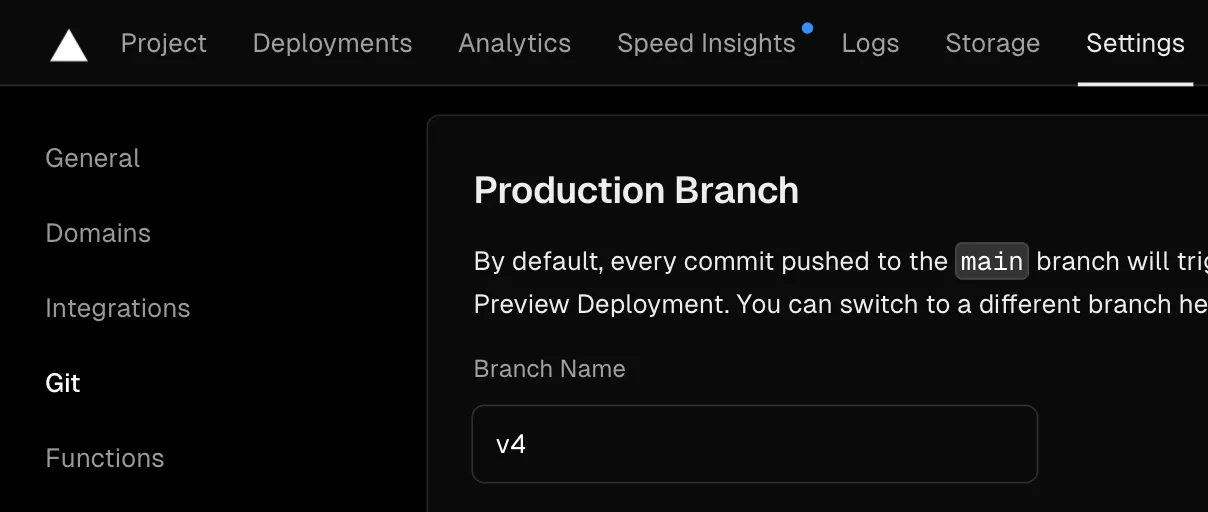
Go to Settings → Git → Production Branch to set the version branch:

In the screenshots we see “v4”, because I was at v3 in the main branch.
No need to buy or connect a new domain, versioned docs can be served from a free
Vercel subdomain such as example-org-v2.vercel.app. No worries: users won’t
see this, they will only see the main domain you’ve already set up.
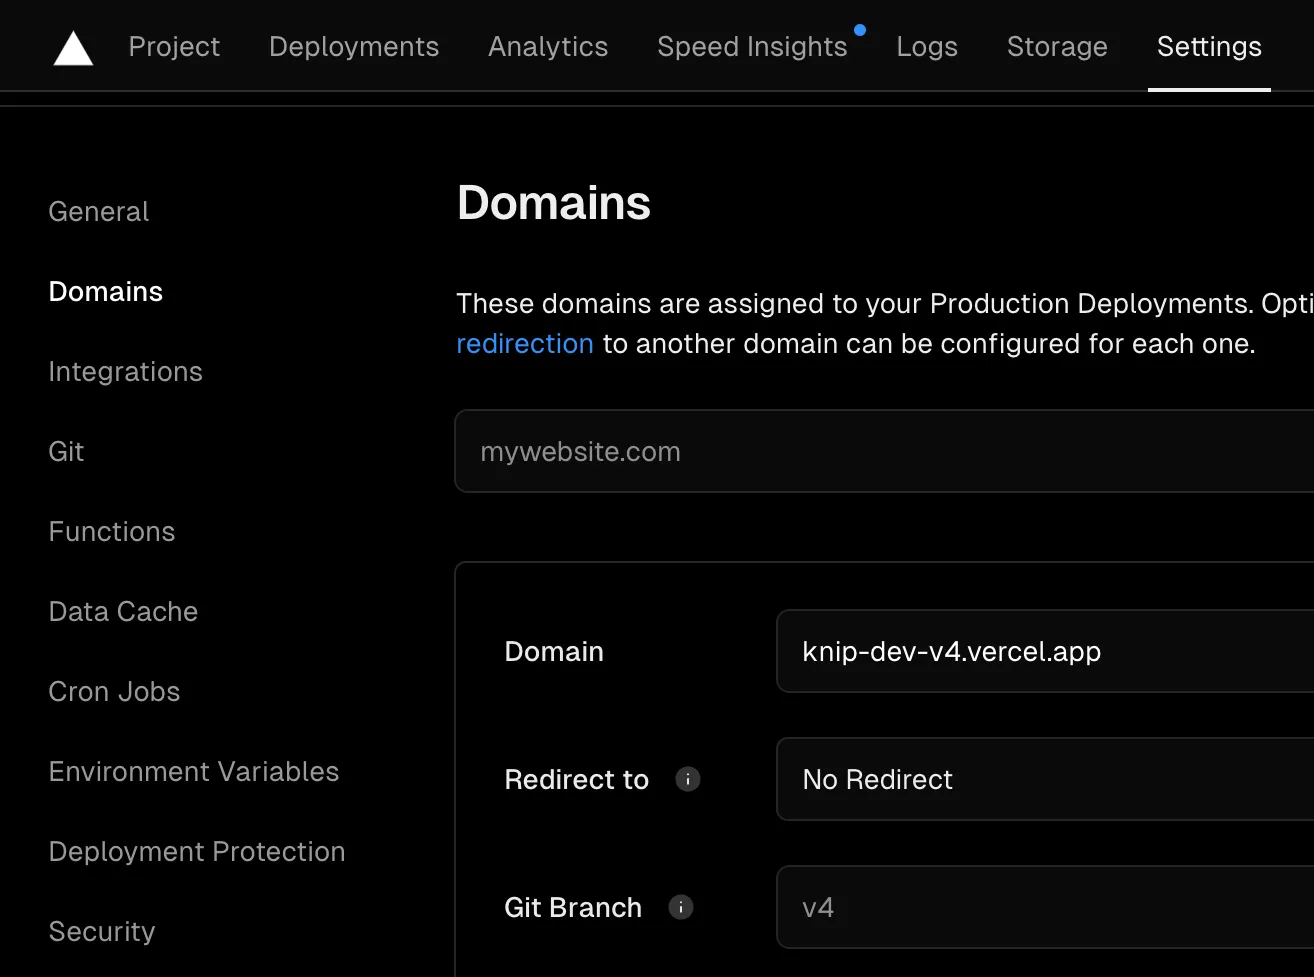
Go to Settings → Domains, edit and double-check it does not have redirects
configured and that the Git branch is v2:

Verify the site is deployed and working at the Vercel domain and version path
(our example would run at https://example-org-v2.vercel.app/v2).
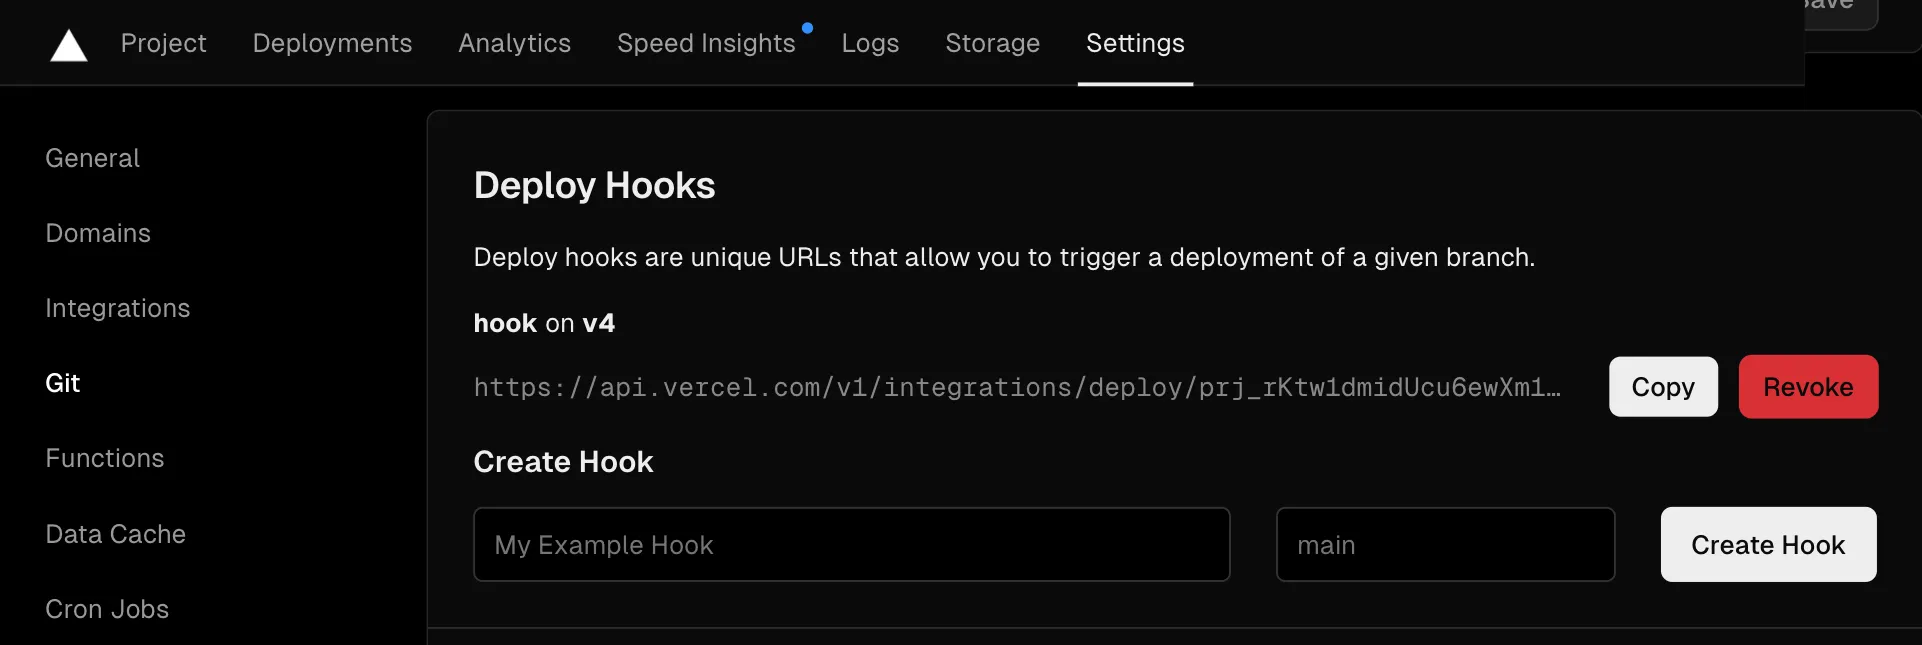
Need to trigger a deployment? Go to Settings → Git → Deploy Hooks:

You can copy the link and use curl in a shell to trigger a deployment:
curl https://api.vercel.com/v1/integrations/deploy/prj_rKtw..Once your versioned site is running smoothly we’re ready for the final step!
Configure rewrites for Vercel
Switch to the main branch and create a vercel.json file in the same folder
as astro.config.mjs (if it isn’t already there). Add two items to the
rewrites array as follows:
{ "cleanUrls": true, "rewrites": [ { "source": "/v2/:path*", "destination": "https://example-org-v2.vercel.app/v2/:path*" }, { "source": "/v1/:path*", "destination": "/:path*" } ]}Modify the domain and the paths to match your situation. In this example, v1
is still the default version. You can basically swap them around once v2 is
the new default in the main branch. You’ll want to omit the cleanUrls if you
prefer trailing slashes.
Push this in the main branch to the remote and wait for the deployment to
finish. Verify everything works as expected: example.org , example.org/v1
and example.org/v2.
Awesome! 🎉
We’ve completed all steps and this process can be repeated for new versions in the future.
Navigation
What’s left to do is to show the user the current version of the documentation and a way to navigate to a different version. There’s multiple ways to do this, so this is left as an exercise to the reader.
Feel free to check out my basic solution using a dropdown in a custom
Header.astro component with minimal configuration to keep track of
available versions. The repo contains the astro.config.ts and vercel.json
configuration files in the main branch too. This solution is currently running
at https://knip.dev.
Good luck and have a great day!